<-- Back--^Back to Menu^--Next -->
The Pond Wall
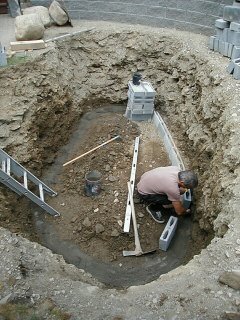 |
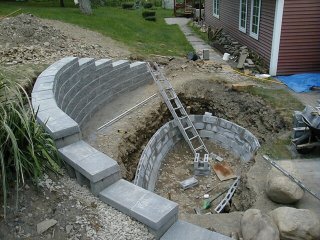
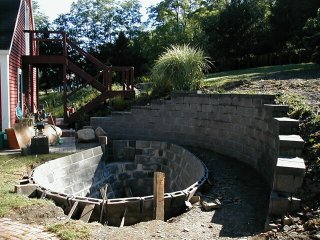
1. We decided to lay 4" hollow core blocks to line the inside of the pond. This was quite difficult because the wall leans out as the wall gets taller, and the pond is curved. |
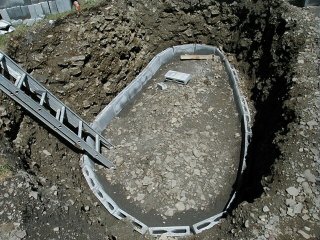 |
2. We started with the blocks tight together on the first row with no mortar. They were set in just enough sand to make the ground level. |
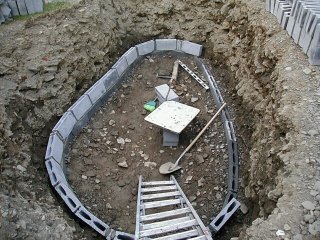 |
3. All of the following rows of blocks were set in mortar. As the wall grows larger, spacers were made to fill the gaps. This was done to keep the cores in line for rebar later. We simply used 4" slices of 1.5" solid paving blocks for spacers. |
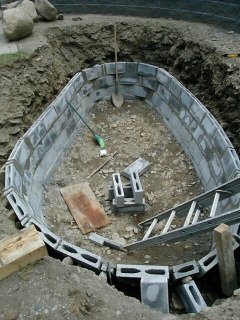 |
4. The fourth row was finished. We started using half blocks in the wall as well as spacers. |
 |
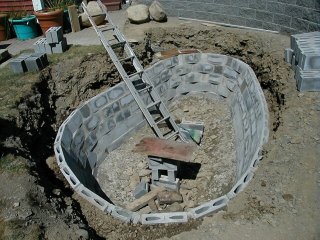
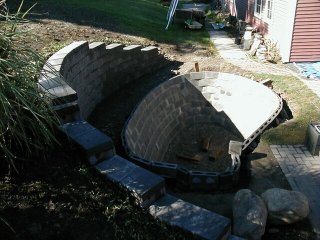
5. Rocks, blocks, and chunks of wood were all used between the dirt and the wall to temporarily hold the 4" blocks at the correct angle while the mortar cured. |
 |
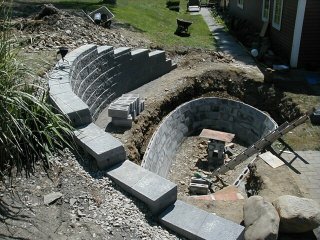
6. At the fifth row we poured a concrete pad (towards the top, under the plywood) for a small step to get in and out easier. |
 |
7. Looking from the other direction. |
 |
8. Finished the seventh row. |
 |
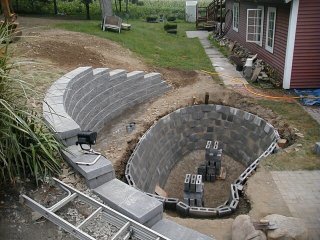
9. The final eighth row finished. The step is separated by a small gap from the pond in case they settle differently. |
 |
10. Later we put a piece of rebar in each core, and filled them with mortar almost to the top of the blocks. |
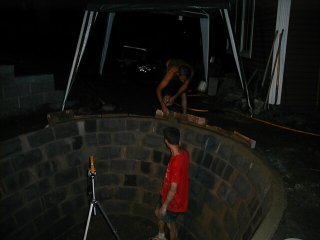 |
11. We are using a laser level to put a rounded smooth cap of concrete along the top of the blocks, which will even out the block height difference from leaning the wall out. |
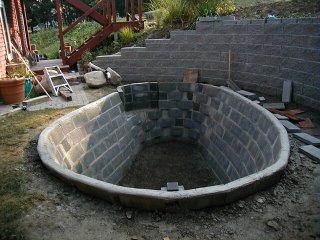 |
12. This is the finished pond block wall. |