^Back to Menu^--Next -->
Digging Our Koi Pond
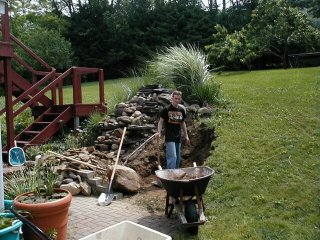 |
1. We started digging by hand a flat area to get a better idea of the best way to layout the pond. |
 |
2. After 3 days of hand digging we had a good portion of the hill removed. We were still trying to figure out what the best pond shape would be. Using a bright piece of rope or a cord really helped us visualize the shape and size of the pond. (Looking back, this was very close to our final shape, size, and location) |
 |
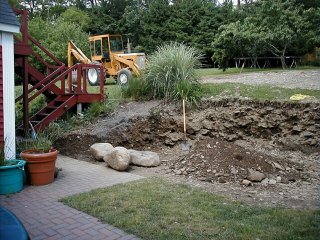
3. By the fifth day of hand digging it was time to really move some dirt, so we borrowed a backhoe. |
 |
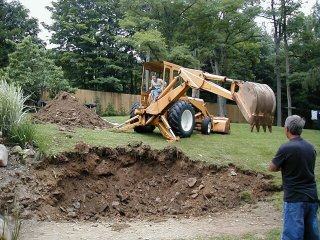
4. Smoothed out the flat area. |
 |
5. Moved the first dirt pile. We were still playing with pond shapes, too. |
 |
6. We decided to put in a parabolic shaped retaining wall that would be about 6 feet high. So we trenched down 4-6" below grade for sand under and drain pipe behind / below the retaining wall. |
 |
7. We used the backhoe to move the pile of dirt off the flat section. |
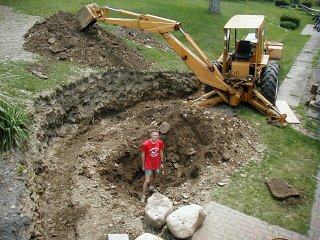 |
8. Well...while the backhoe is there...we started digging the pond hole. |
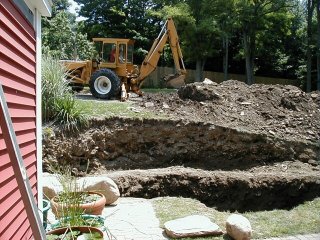 |
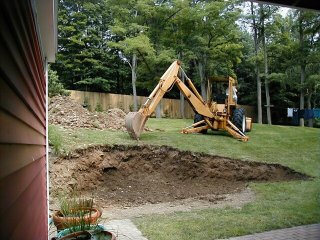
9. Removing the second pile of dirt. |
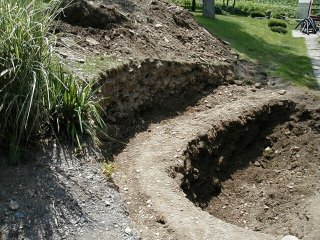 |
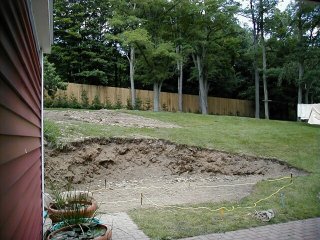
10. Most of the major digging was done, just a bit more was taken out of the bottom of the hole to make the pond bottom flat for laying blocks. We were somewhat lucky our soil was rocky enough to stand straight up with out crumbling down. |